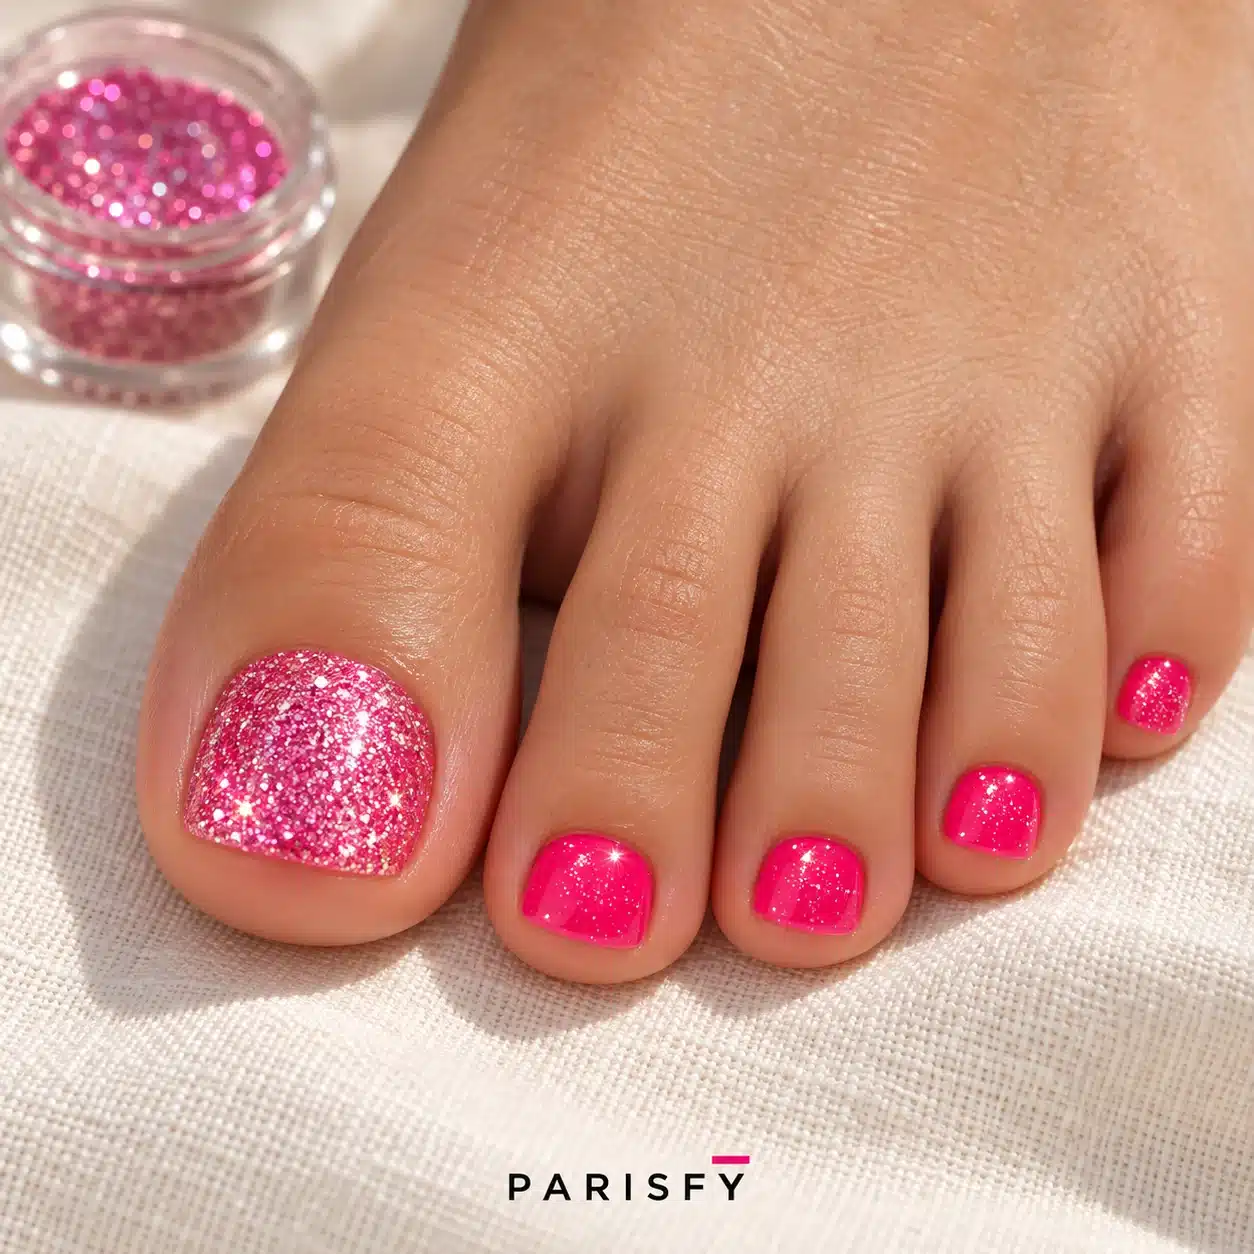
Want a sparkly pedicure without paying salon prices? These DIY Glitter Toes are an easy, budget-friendly way to add shimmer to your toenails using nail polish, cosmetic-grade glitter, and a clear top coat.
Whether you love pink, silver, gold, or colorful glitter, you can create beautiful glitter toenails at home with a few simple supplies. The technique works for full-glitter pedicures, accent nails, and sparkling French tips.
If you prefer a more delicate finish, explore our French Tip Toes with Glitter ideas for subtle shimmer, glitter outlines, and sparkling French pedicure designs.
Table of Contents
What Are DIY Glitter Toes?
DIY Glitter Toes are a type of pedicure that uses fine glitter to create a sparkling finish over nail polish.
Instead of using regular polish alone, you apply glitter while the polish is still wet, allow it to set, and finish with a clear top coat.
The result is a glittery pedicure that can be customized with different colors, textures, and nail art styles.
Fine glitter creates a smoother, more even finish, while larger glitter particles produce a bolder effect. For at-home nail art, choose cosmetic-grade glitter specifically labeled as suitable for nails rather than ordinary craft glitter.
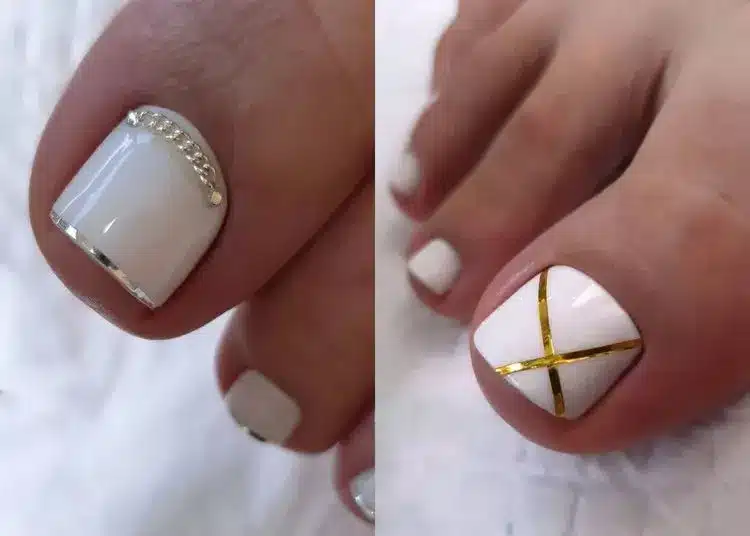
A shimmering pedicure can also complement the soft, clean appearance of a Milky White Pedicure, especially when glitter is used on just one accent toenail.
Why Try DIY Glitter Toes?
DIY glitter pedicures are popular because they are inexpensive, customizable, and relatively easy to create at home.
- Budget-friendly: You can use nail polish and nail-safe glitter you already own.
- Beginner-friendly: The basic technique does not require complicated nail painting skills.
- Customizable: Choose matching glitter, contrasting glitter, or multicolored combinations.
- Great for accent nails: Add sparkle to the big toenails while keeping the smaller nails simple.
- Perfect for summer: Glitter pedicures pair beautifully with sandals and open-toe shoes.
- Flexible application: Use regular nail polish or an appropriately applied gel system.
For another reflective pedicure style, see our Milky White Chrome Pedicure inspiration. Chrome provides a smooth pearlescent effect, while loose glitter creates a more textured sparkle.
What You Need for DIY Glitter Toes
Gather your supplies before starting so you can apply glitter while the nail polish is still wet.
- Clear base coat: Helps protect the natural nail and improve polish adhesion.
- Colored nail polish: Choose a shade that complements your glitter.
- Cosmetic-grade nail glitter: Fine glitter formulated for nail applications is preferable to ordinary craft glitter.
- Clear top coat: Helps seal the glitter and create a smoother finish.
- Paper plate or disposable tray: Catches excess glitter.
- Small nail-art brush: Helps remove stray glitter from the skin.
- Orangewood stick: Useful for cleaning around the edges of the nails without scraping the skin.
- Nail polish remover: For cleaning mistakes and eventual removal.
You do not need a UV lamp for the standard nail polish technique.
How to Do Glitter Toes Step by Step
This simple DIY Glitter Toes tutorial uses regular nail polish and loose nail-safe glitter.
Step 1: Prepare Your Toenails
Start by removing old nail polish and washing your feet.
Trim your toenails straight across and gently file rough edges. Dry the nails completely before applying polish.
Avoid cutting your cuticles or damaging the surrounding skin. Healthy cuticles help protect the nail area.
For more information about safe nail-care practices, consult the American Academy of Dermatology’s manicure and pedicure safety advice.
Step 2: Apply a Clear Base Coat
Apply a thin layer of clear base coat to each toenail.
Allow it to dry according to the product instructions before adding your colored polish.
Step 3: Choose Your Base Color
Select a nail polish color that matches or complements your glitter.
Pink polish with pink glitter creates a bright, playful look. Nude polish with silver glitter gives a softer finish, while black polish with silver glitter creates dramatic contrast.
For a classic light-colored base, you can use a sheer white or pink shade.
Step 4: Place a Paper Plate Under Your Foot
Position your foot above a clean paper plate or disposable tray to catch falling glitter.
Work in a well-ventilated area and keep loose glitter away from your eyes, mouth, and broken skin.
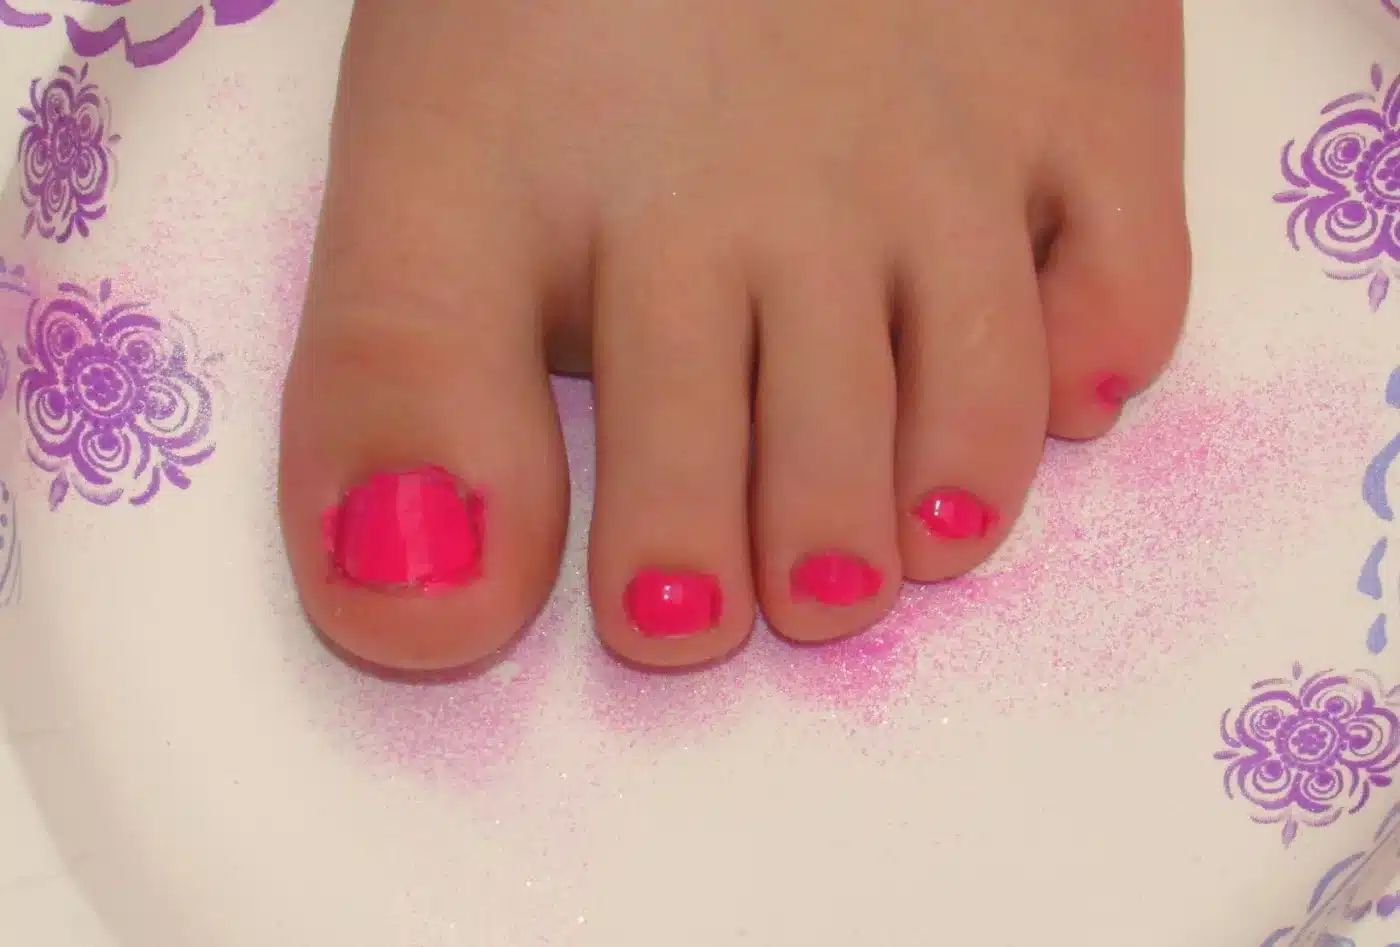
Step 5: Apply the Colored Nail Polish
Paint one or two toenails at a time with your chosen nail polish.
Apply the color carefully, but do not worry if the finish is not completely perfect. The glitter layer can help disguise minor unevenness.
The important thing is to keep the polish wet long enough for the glitter to adhere.
Step 6: Sprinkle Glitter Over the Wet Polish
While the colored polish is still wet, gently sprinkle fine cosmetic-grade nail glitter over the nail.
Apply enough glitter to cover the wet surface without allowing large piles to build up around the cuticle.
Keep the foot above the paper plate so excess glitter can fall onto the tray.
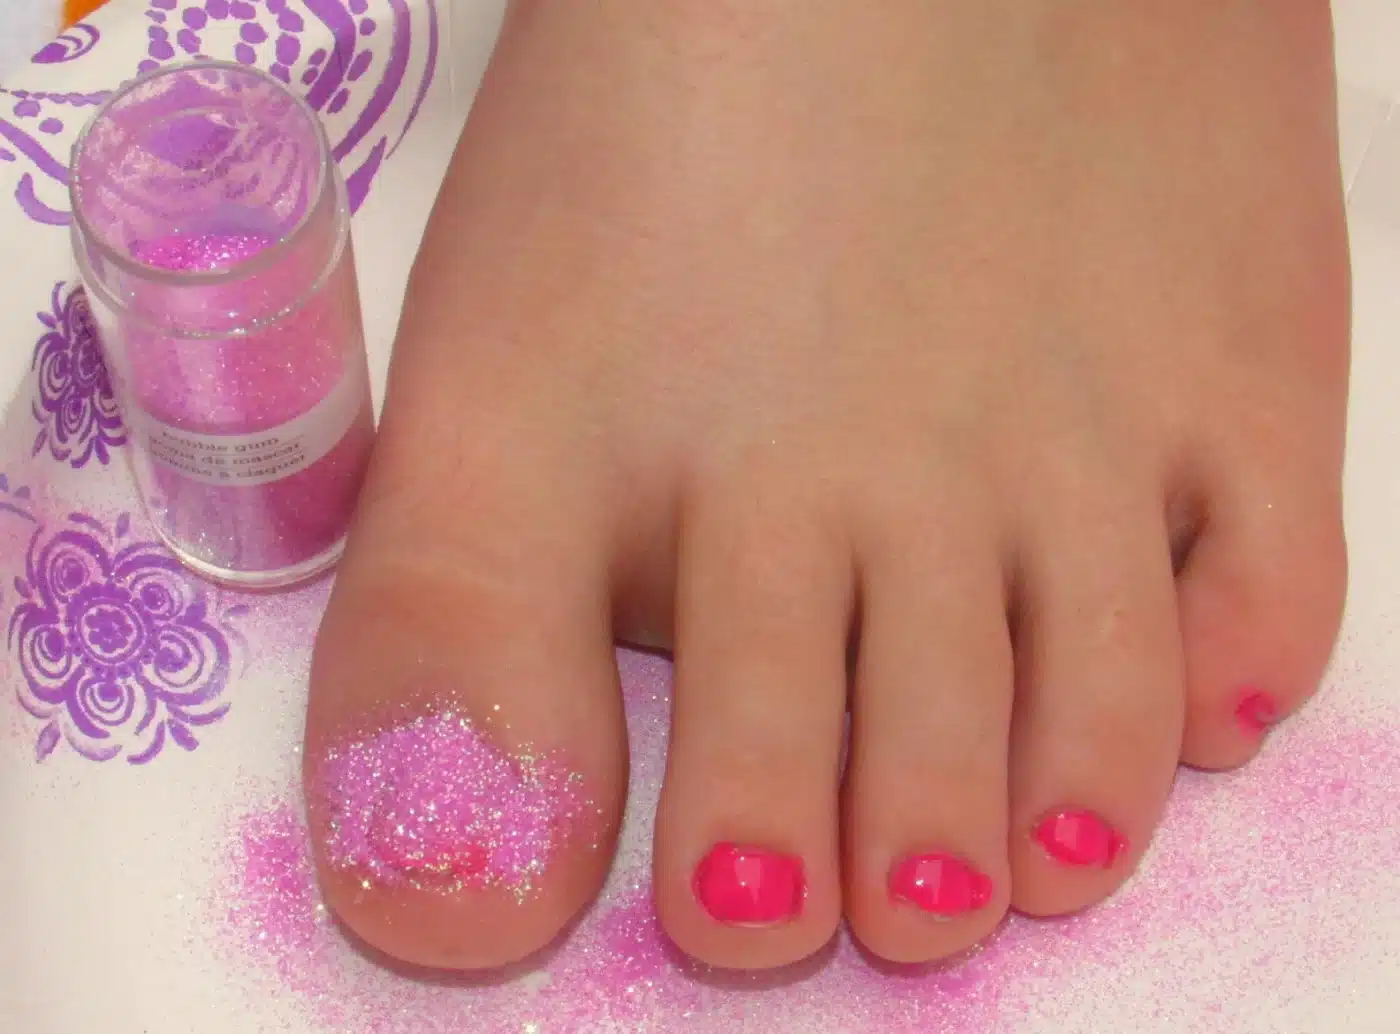
Step 7: Gently Press the Glitter into Place
Allow the glitter to settle into the wet polish.
If necessary, use a clean nail-art applicator to lightly press down any raised glitter. Avoid touching the wet polish directly with your fingers.
Gently tap away any excess glitter.
Step 8: Repeat on the Other Toes
Continue applying polish and glitter to the remaining toenails.
You can apply the same color to every toe or mix different shades for a playful multicolored pedicure.
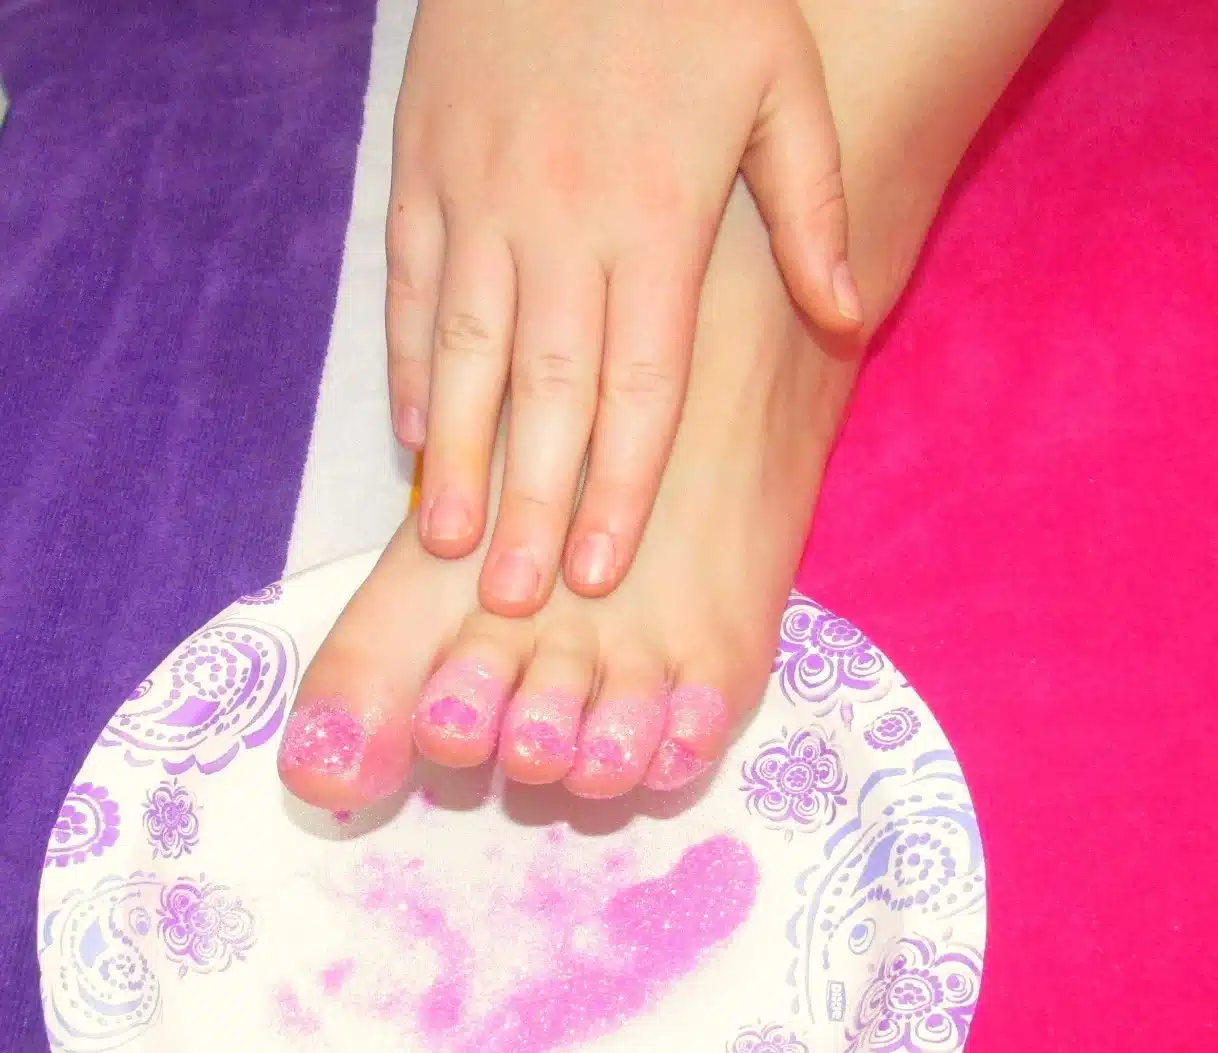
Step 9: Let the Glitter Set
Allow the glitter and polish to settle and dry.
The original technique suggests allowing approximately 20 minutes before washing away stray glitter, but drying time depends on the polish, thickness, and number of layers.
Avoid rinsing or touching the nails until the polish has dried sufficiently.
Step 10: Seal with Clear Top Coat
Apply a clear top coat over the glitter to help secure the particles and smooth the surface.
Some glitter finishes require two thin layers of top coat. Follow the product instructions and allow each layer to dry.
Once completely dry, gently remove stray glitter from the surrounding skin with a soft brush.
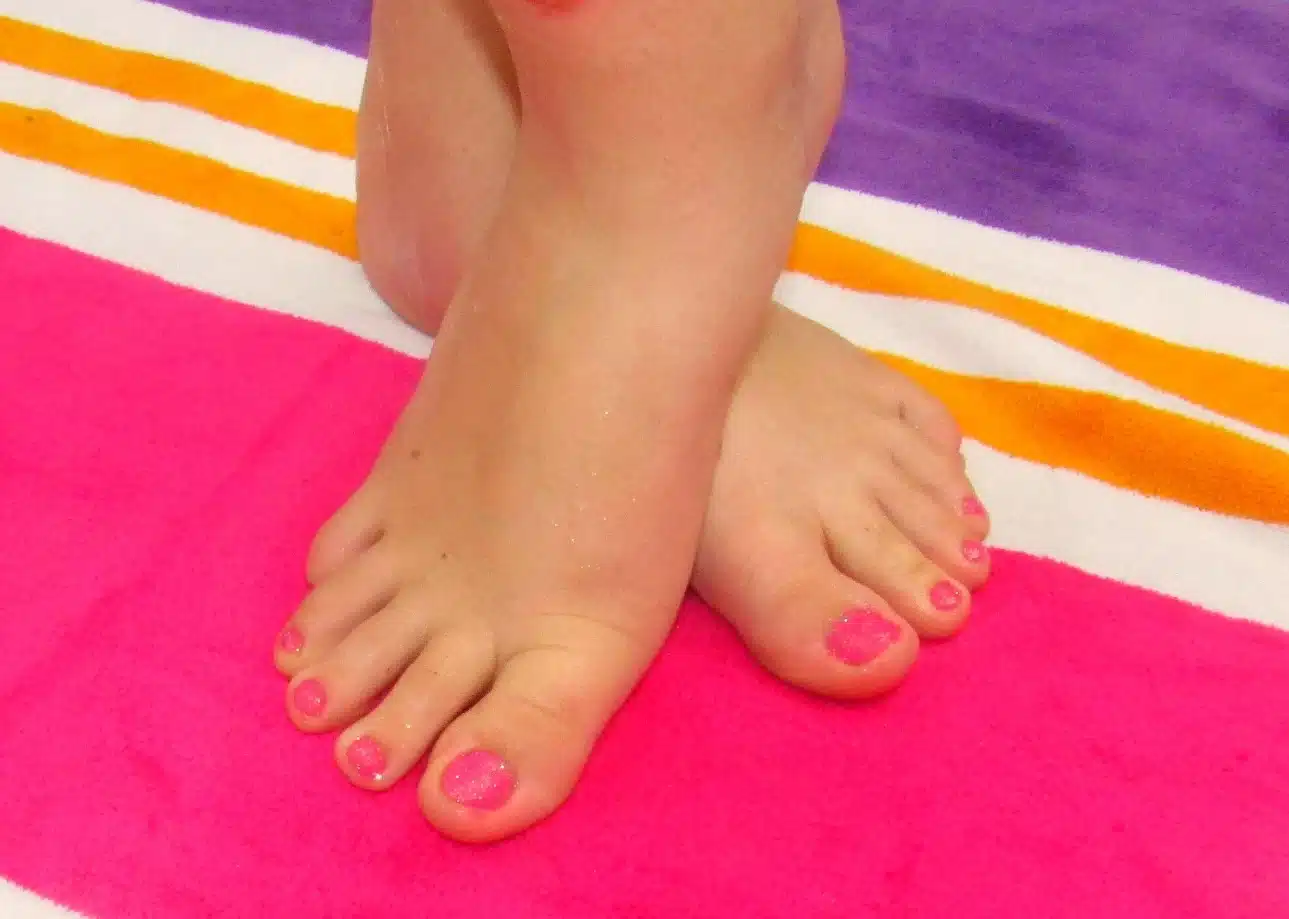
How to Do Glitter Toes Without a UV Lamp
You can create a beautiful glitter pedicure using standard nail polish without a UV or LED lamp.
The process is simple: prepare your toenails, apply a base coat and colored polish, sprinkle cosmetic-grade glitter onto the wet layer, allow it to dry, and seal with clear top coat.
This option is suitable for beginners because it does not require a gel nail system or curing equipment.
For another easy nail technique, a classic French pedicure can be created with regular polish and a steady brush. See our How to Do French Tips on Toes tutorial.
How to Do Gel Glitter Toes
Gel glitter pedicures use nail products that require curing under a compatible UV or LED lamp.
A typical gel glitter pedicure involves preparing the nails, applying and curing a gel base coat, adding glitter to a compatible uncured gel layer, curing as instructed, and finishing with a gel top coat.
Gel products must be applied and cured according to their manufacturer’s instructions. Avoid contact between uncured gel and the skin because acrylate ingredients can cause allergic reactions.
If you are unfamiliar with gel products, the regular polish method is simpler and avoids the need for a curing lamp.
DIY Glitter Toe Nail Design Ideas
1. Full Silver Glitter Toes
Cover every toenail with fine silver glitter over a matching base color for a bright, reflective pedicure.
2. Pink Glitter Accent Toes
Paint your toenails soft pink and add glitter to only the big toes.
This creates a delicate sparkling accent without overwhelming the entire pedicure.
3. Glitter French Tip Toes
Apply a nude or sheer pink base and add a thin line of glitter along the tips of your toenails.
This style combines the familiar shape of a French pedicure with the sparkle of glitter nail art.
4. Gold Glitter Pedicure
Gold glitter over a nude, cream, or soft pink base creates a warm, elegant finish.
5. Multicolored Glitter Toes
Use different glitter colors on each nail for a fun, colorful pedicure.
This design is especially popular for vacations, festivals, and playful summer styles.
6. Glitter and Rhinestone Pedicure
Combine a subtle glitter finish with a few small rhinestones on an accent toenail.
Keep decorations small and securely attached so they remain comfortable in shoes.
7. Floral Glitter Toes
Create a sparkling base, then add small flower accents using nail stickers or hand-painted petals.
For more floral inspiration, explore our Flower Toe Nails designs.
Tips for Long-Lasting Glitter Toes
Use Cosmetic-Grade Nail Glitter
Choose glitter specifically designed and labeled for nail applications.
Ordinary craft glitter may contain materials or pigments that are not intended for cosmetic contact.
Start with Clean, Dry Nails
Nail polish adheres more evenly to clean, dry nails.
Avoid applying lotion or oily products immediately before painting your toenails.
Apply Glitter While the Polish Is Wet
Glitter adheres best when applied before the colored polish has dried.
Work on one or two nails at a time so you have enough time to apply the glitter evenly.
Keep Glitter Away from the Cuticles
Avoid placing large amounts of glitter on the surrounding skin or cuticle area.
A small brush or orangewood stick can help tidy the edges without scraping the skin.
Seal the Glitter Properly
A clear top coat helps smooth the texture and reduce loose glitter.
If the surface still feels rough after the first coat dries, apply another thin layer according to the product instructions.
Let the Polish Dry Completely
Avoid putting on tight socks or closed-toe shoes until the top coat has fully dried.
Avoid Picking at Glitter Polish
Picking or peeling off glitter polish can damage the surface of your natural nails.
Use a suitable nail polish remover instead.
How to Remove Glitter Toenail Polish
Glitter nail polish can take longer to remove than regular polish because the glitter particles adhere to the nail surface.
Step 1: Use Nail Polish Remover
Saturate a cotton pad with nail polish remover suitable for your polish type.
Step 2: Hold the Cotton Against the Nail
Press the cotton gently against the glitter polish for a short period to help soften the coating.
Step 3: Wipe Gently
Wipe the polish away without aggressively scraping or peeling the nail.
Step 4: Repeat if Necessary
Stubborn glitter may need another application of remover.
Step 5: Moisturize
After removal, wash your feet and apply moisturizer to the surrounding skin.
If you used gel polish, follow the removal directions for that specific gel system rather than treating it as regular nail polish.
Can You Make Your Own Glitter Nail Polish?
Yes, it is possible to create a custom glitter polish, but compatibility is important.
Use cosmetic-grade, solvent-resistant glitter and a nail polish suspension base designed for mixing pigments or glitter.
Regular craft glitter is not a good substitute because some materials can react with nail polish solvents or are not intended for cosmetic use.
Using a ready-made glitter nail polish is often the simplest option, especially for beginners.
Frequently Asked Questions About DIY Glitter Toes
How to Do Glitter Toes?
To make DIY Glitter Toes, clean and prepare your toenails, apply a base coat and colored polish, then sprinkle cosmetic-grade glitter over the wet polish. Allow it to dry thoroughly and seal with clear top coat.
Can You Do Glitter Toes Without Gel?
Yes. Regular nail polish and cosmetic-grade glitter work well without a UV or LED lamp.
How Long Do DIY Glitter Toes Last?
The duration depends on your polish, application, footwear, and activities. A carefully applied pedicure may remain attractive for several weeks, but chipping and wear vary from person to person.
Can I Use Craft Glitter on My Toenails?
Cosmetic-grade glitter specifically labeled for nail use is the safer choice. Ordinary craft glitter is not necessarily suitable for cosmetic contact.
Do I Need a Top Coat for Glitter Toes?
Yes, a suitable clear top coat is recommended to help secure the glitter, smooth the texture, and reduce shedding.
What Is the Best Glitter for Toenails?
Fine cosmetic-grade nail glitter is a practical choice because it usually creates a smoother finish than large chunky glitter.
Can You Make Your Own Glitter Nail Polish?
Yes. Use a compatible nail polish suspension base and cosmetic-grade, solvent-resistant glitter. Ready-made glitter polish is easier if you do not want to mix your own.
Can You Apply Glitter Over Regular Nail Polish?
Yes. Apply loose nail-safe glitter while the polish is still wet, allow it to set, then seal it with top coat.
How Do You Keep Glitter from Falling Off Your Toes?
Apply the glitter evenly to wet polish, remove excess particles, and finish with a suitable top coat once the underlying layers are ready.
How Do You Remove Glitter Toe Nail Polish?
Use nail polish remover with a cotton pad. Hold it against the nail briefly to soften the polish, then wipe gently. Avoid peeling or scraping the coating off.
Can I Combine Glitter Toes with French Tips?
Yes. Apply a sheer base and add glitter along the nail tips for an elegant sparkling French pedicure.
Can I Add Rhinestones to Glitter Toes?
Yes. Small rhinestones can be added as accents, but they should be securely attached and comfortable to wear inside shoes.
Is Gel Glitter Better Than Regular Glitter Polish?
Gel polish can offer longer wear, but it requires compatible curing equipment and careful application and removal. Regular polish is easier for beginners and does not require a lamp.
Can Children Wear DIY Glitter Toes?
For children, choose age-appropriate nail products, avoid loose glitter that could be inhaled or swallowed, and follow manufacturer guidance. Adult supervision is important.
More Pedicure Inspiration from Parisfy
If you enjoy sparkly toenails, you may also like these floral, minimalist, and colorful pedicure styles.
The following original image blocks are preserved from the source article.