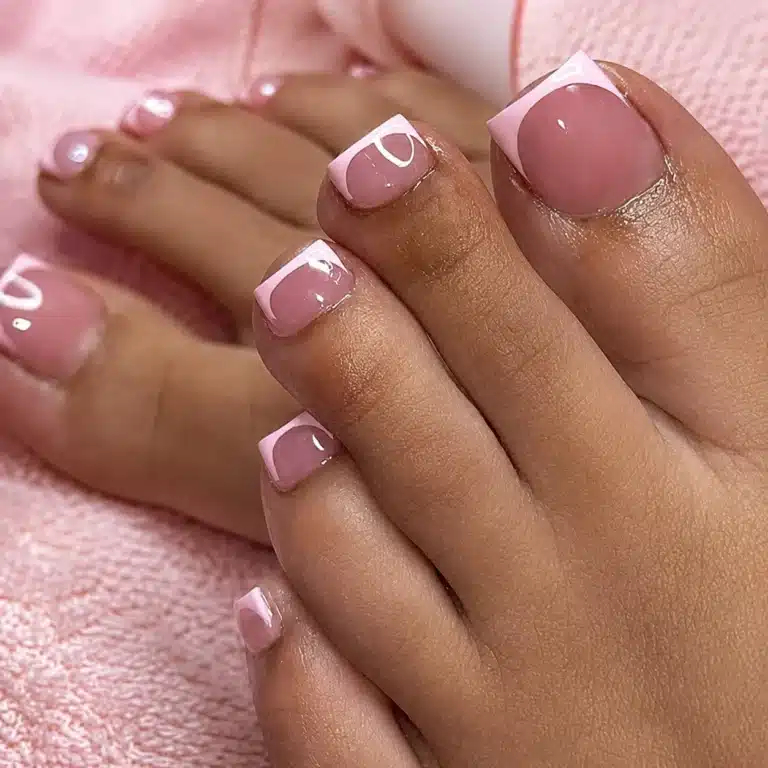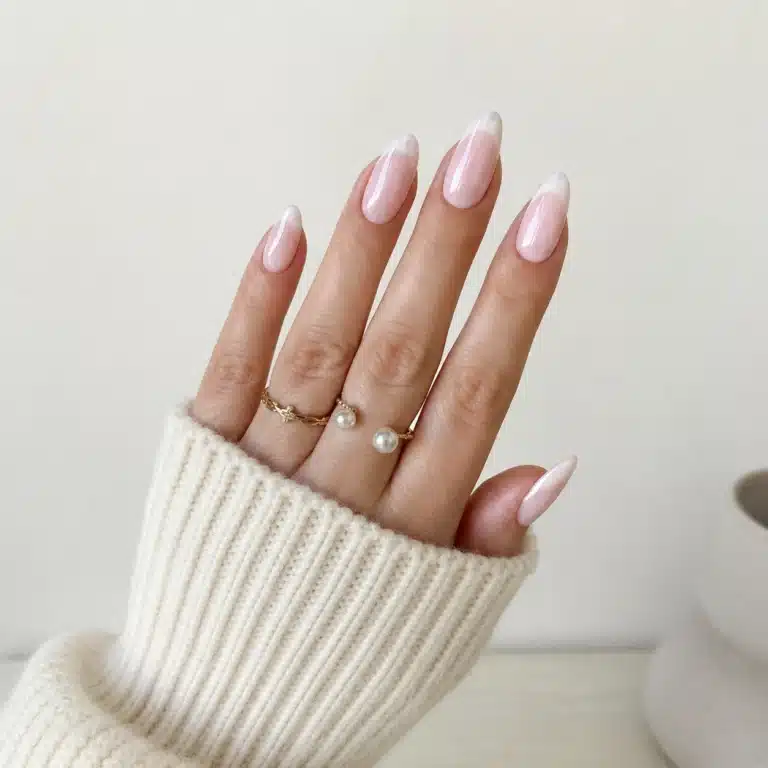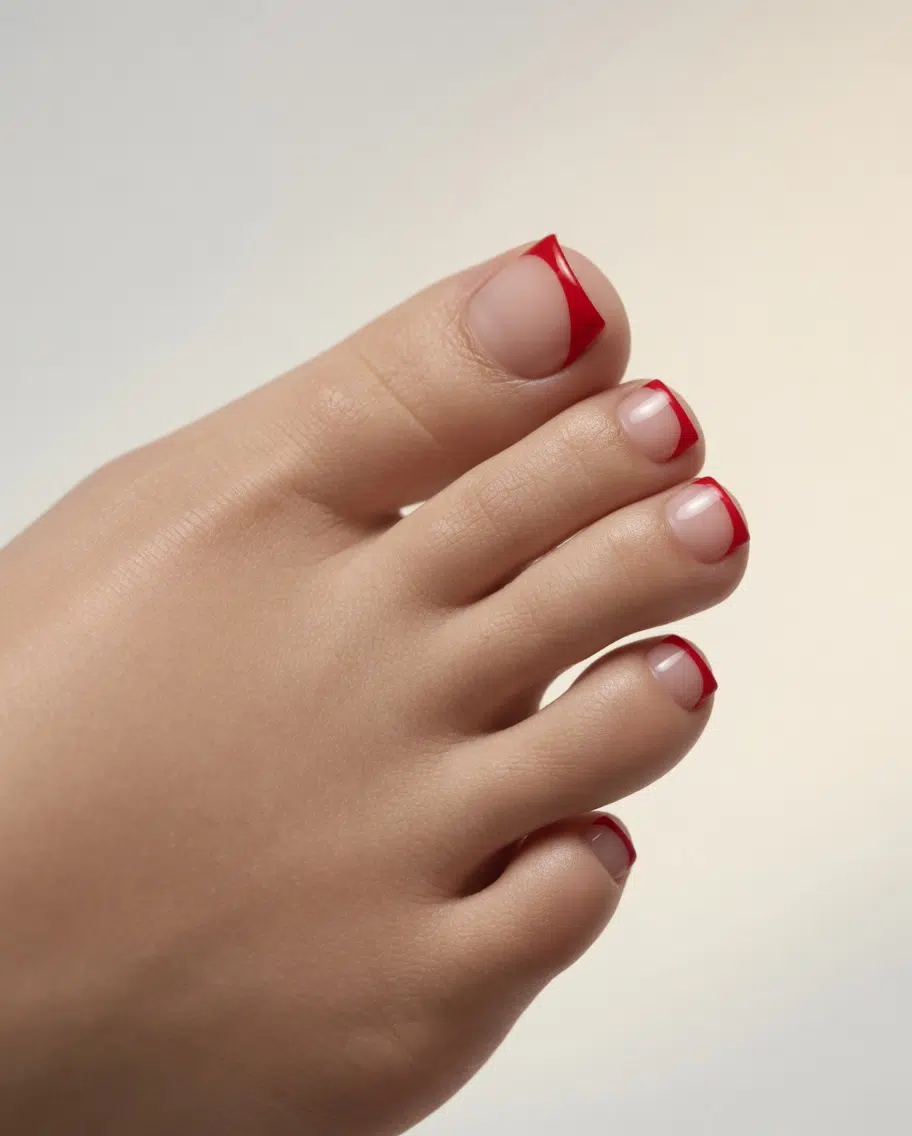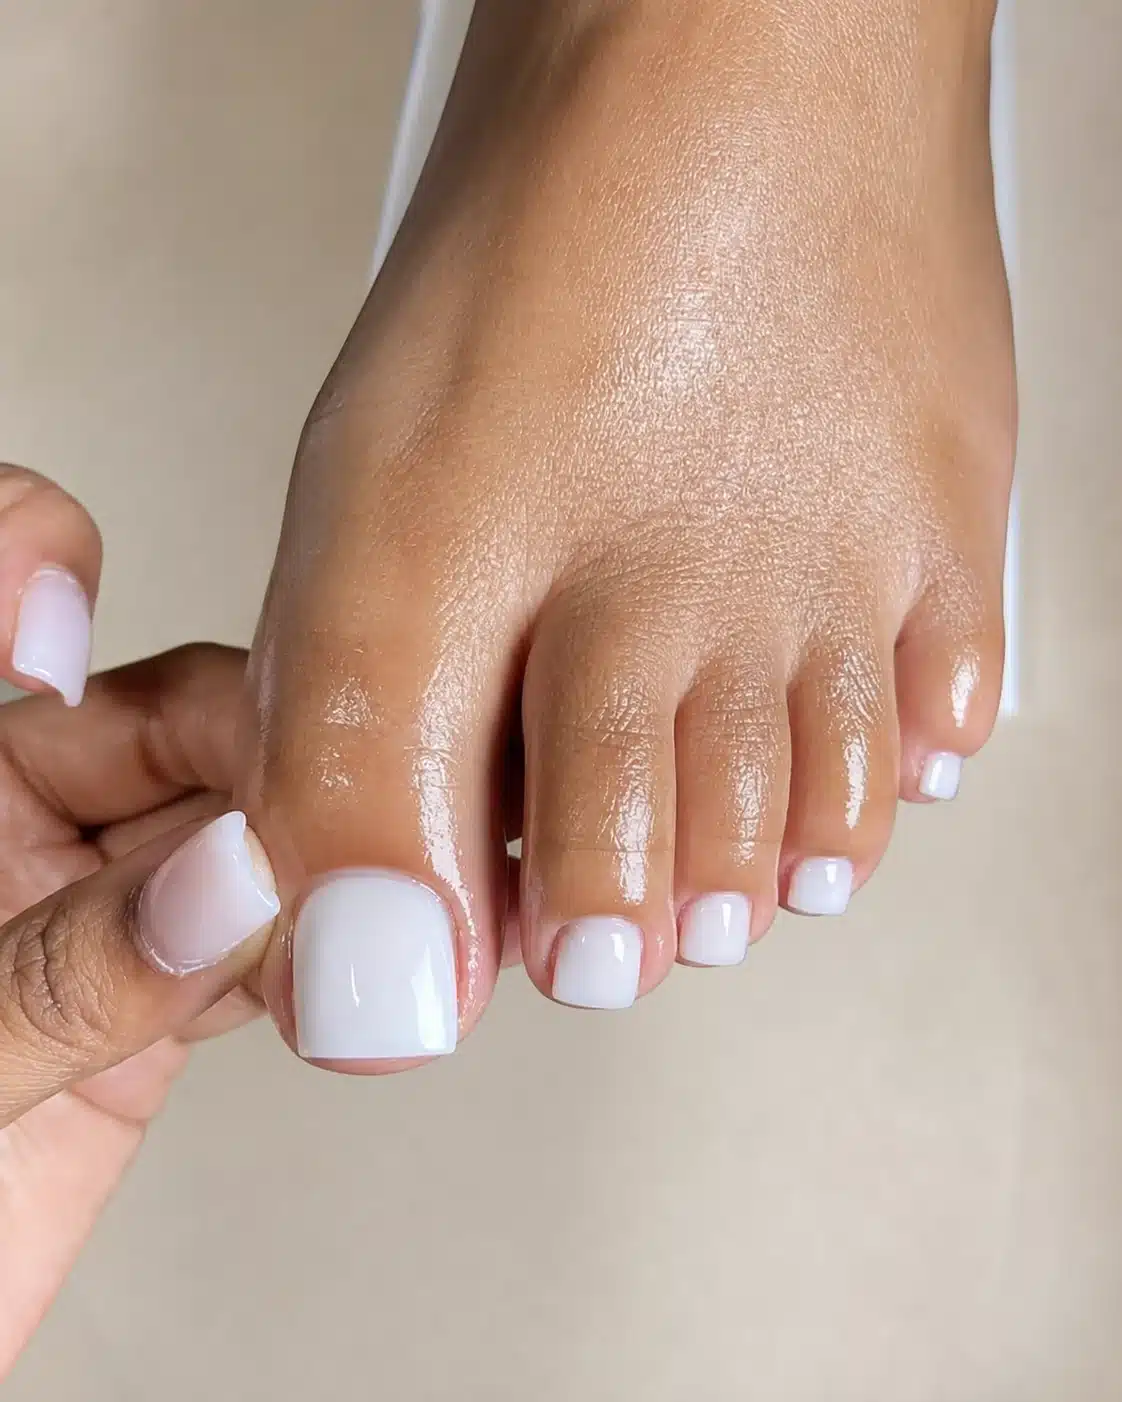
A milky white gel pedicure gives toes a soft white veil instead of the flat, correction-fluid effect of an opaque white polish. The color sits between translucent nude and creamy white, while the cured gel top coat creates the smooth, glassy shine that makes the finish look especially clean in sandals.
This guide shows ten wearable versions, including sheer milk, white shellac toes, fuller creamy coverage, and a micro French finish. Each look includes practical preparation and application steps, so you can explain the result clearly at a salon or recreate it with a compatible gel system at home.
Key Takeaways
- Ask for a semi-sheer milky white gel, not a stark opaque white.
- Thin, fully cured layers create a smoother milk-glass effect than one heavy coat.
- Choose one, two, or three coats according to the opacity you want.
- Gel products and lamps must be used as a compatible system and cured according to their instructions.
What Is a Milky White Gel Pedicure?
A milky white gel pedicure uses a sheer or semi-sheer white gel color over prepared toenails. Unlike solid white, the base remains slightly translucent, so the natural nail can show through a clouded layer. Unlike ordinary lacquer, gel needs the lamp and curing time specified by its manufacturer.
The defining details are controlled opacity, a smooth surface, and high shine. One thin coat looks almost nude-white; two coats usually create balanced creamy coverage; an additional thin coat can make the color fuller without losing all translucency. If you prefer a visibly outlined tip, compare the finish with milky white French tip toes before your appointment.
The gel process also requires thoughtful nail care. The American Academy of Dermatology explains that gel manicures can leave nails brittle or peeling and advises against picking off the product. Read the AAD's gel manicure tips for healthy nails before choosing repeated gel services or removing a set at home.
10 Milky White Gel Pedicure Ideas and How to Recreate Them
1. Classic Creamy Milky White Gel Pedicure
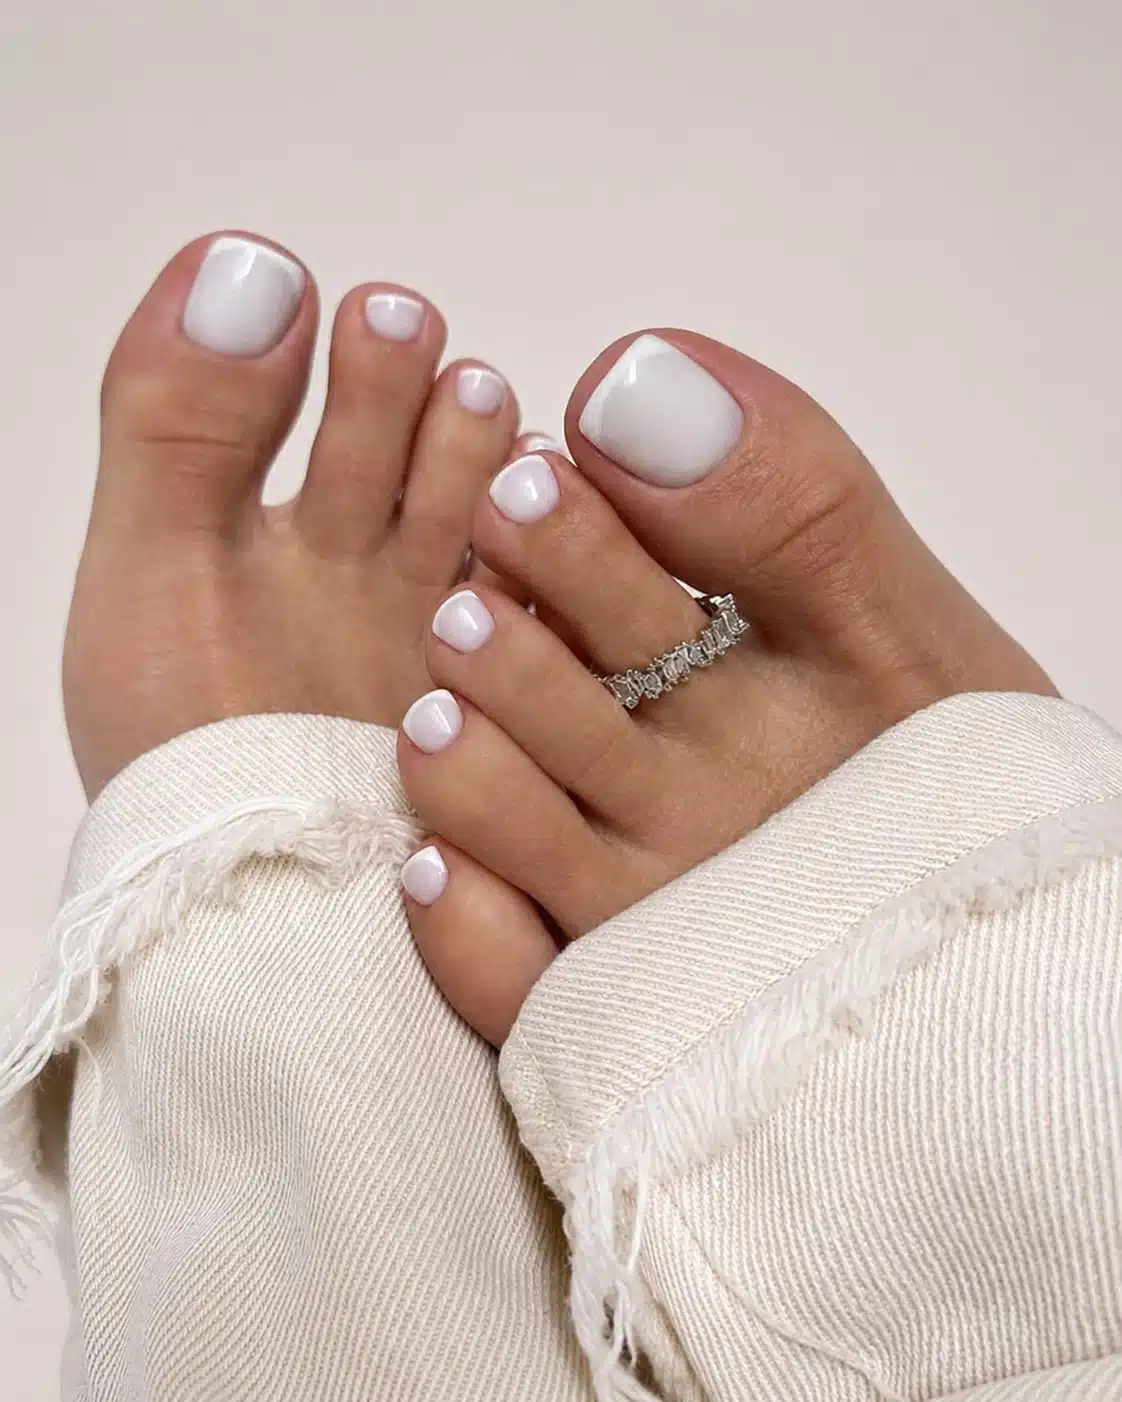
This is the balanced version: visibly white, softly diffused, and glossy rather than chalky. It is the most direct interpretation of the trend and works on short square or softly rounded toenails.
- Prep: Trim the toenails straight across, soften only sharp corners, and gently clear the nail plate of oil and lotion.
- Base: Apply a thin layer of the base coat recommended for your gel color, keeping product off the skin, then cure exactly as directed.
- Color: Float on two thin layers of semi-sheer white gel. Use light brush pressure so the second coat levels small streaks instead of dragging the first layer.
- Finish: Cap the free edge when the nail length allows it, cure each layer fully, and seal with a compatible glossy top coat.
- Wear check: If the gel lifts, do not peel it away; arrange proper removal so layers of the natural nail are not pulled off with it.
Affiliate disclosure: This article contains Amazon affiliate links. As an Amazon Associate, Parisfy may earn from qualifying purchases at no additional cost to you. No prices, ratings, or availability are stated because they can change.
Double Rhythm Milky White-A1075 Gel Polish
A sheer milky white gel option for building the classic translucent-to-creamy finish in thin layers.
2. Cool Milky White Gel Toes on Deep Skin
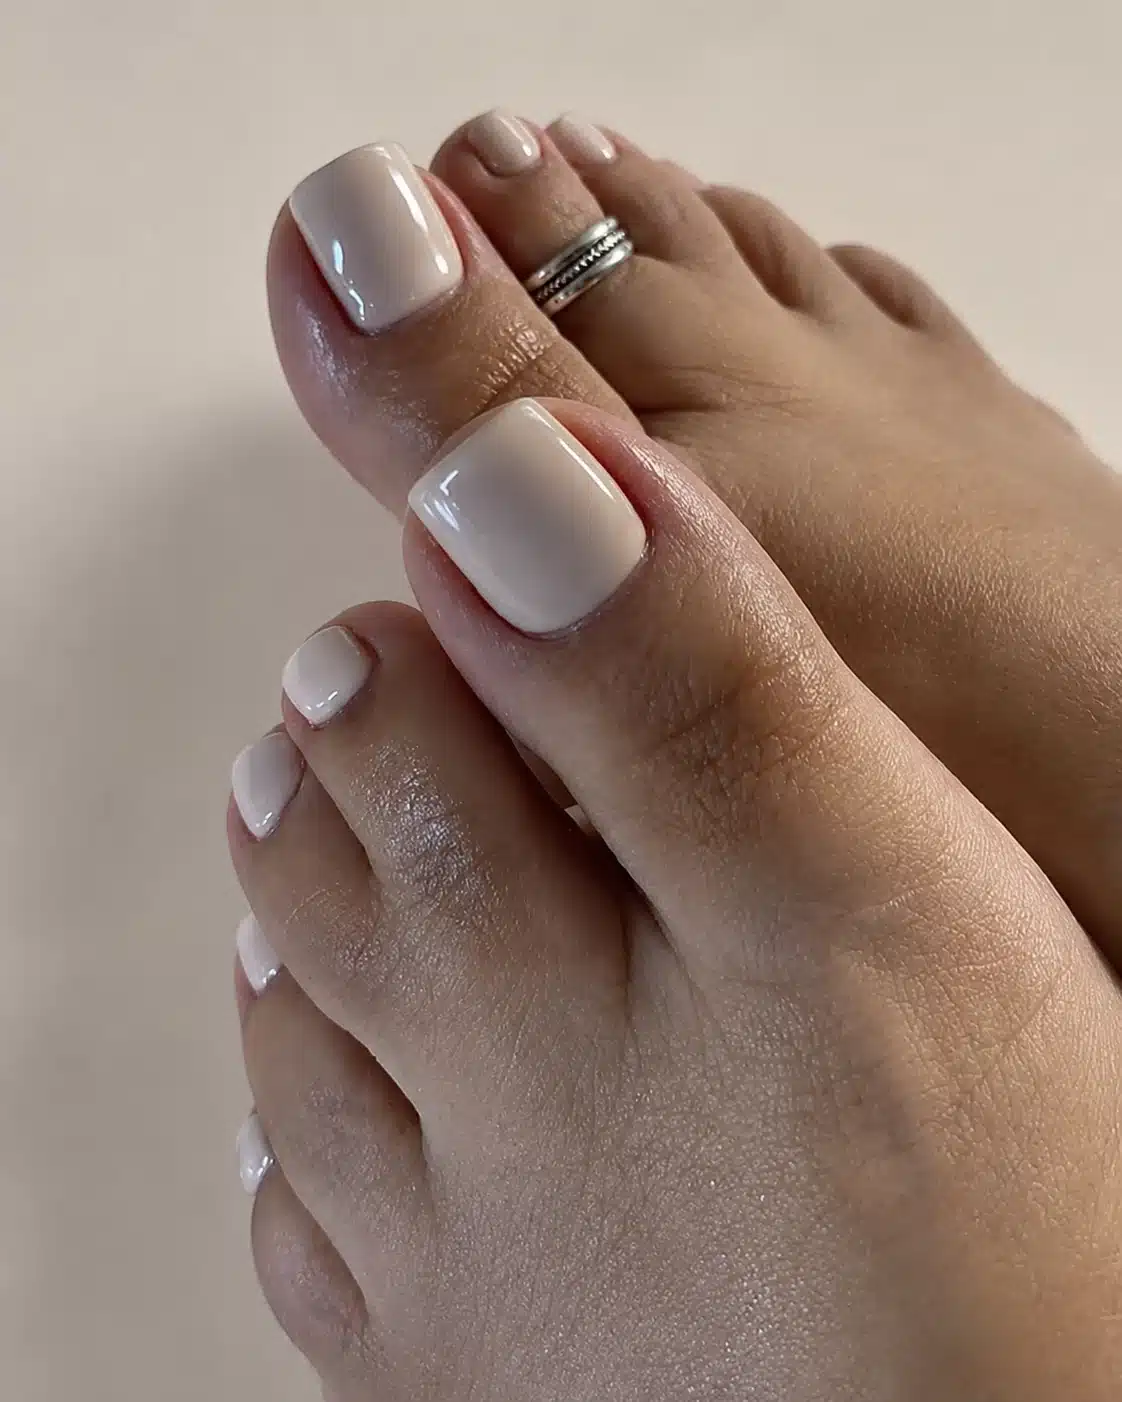
A cool milk-white tone creates crisp contrast on deeper skin while the translucent formula keeps the result softer than bright opaque white. The goal is an even halo of white, not a thick painted block.
- Prep: Shape each toenail consistently and remove surface dust with a lint-free wipe.
- Shade test: Cure a swatch or one thin layer on a single nail first; blue-white gels can look cooler after curing than they do in the bottle.
- Color: Apply the first coat almost like a tint, then place a slightly fuller second coat down the center before smoothing it toward the sidewalls.
- Clean edges: Use a clean detail brush to remove uncured gel from skin before the lamp.
- Finish: Add a clear high-shine top coat and keep the cuticle outline narrow and neat for a polished contrast.
For another high-contrast neutral pedicure, the clean black edge in black French tip toe nails offers a graphic alternative without changing the soft base.
3. Soft White Shellac Toes
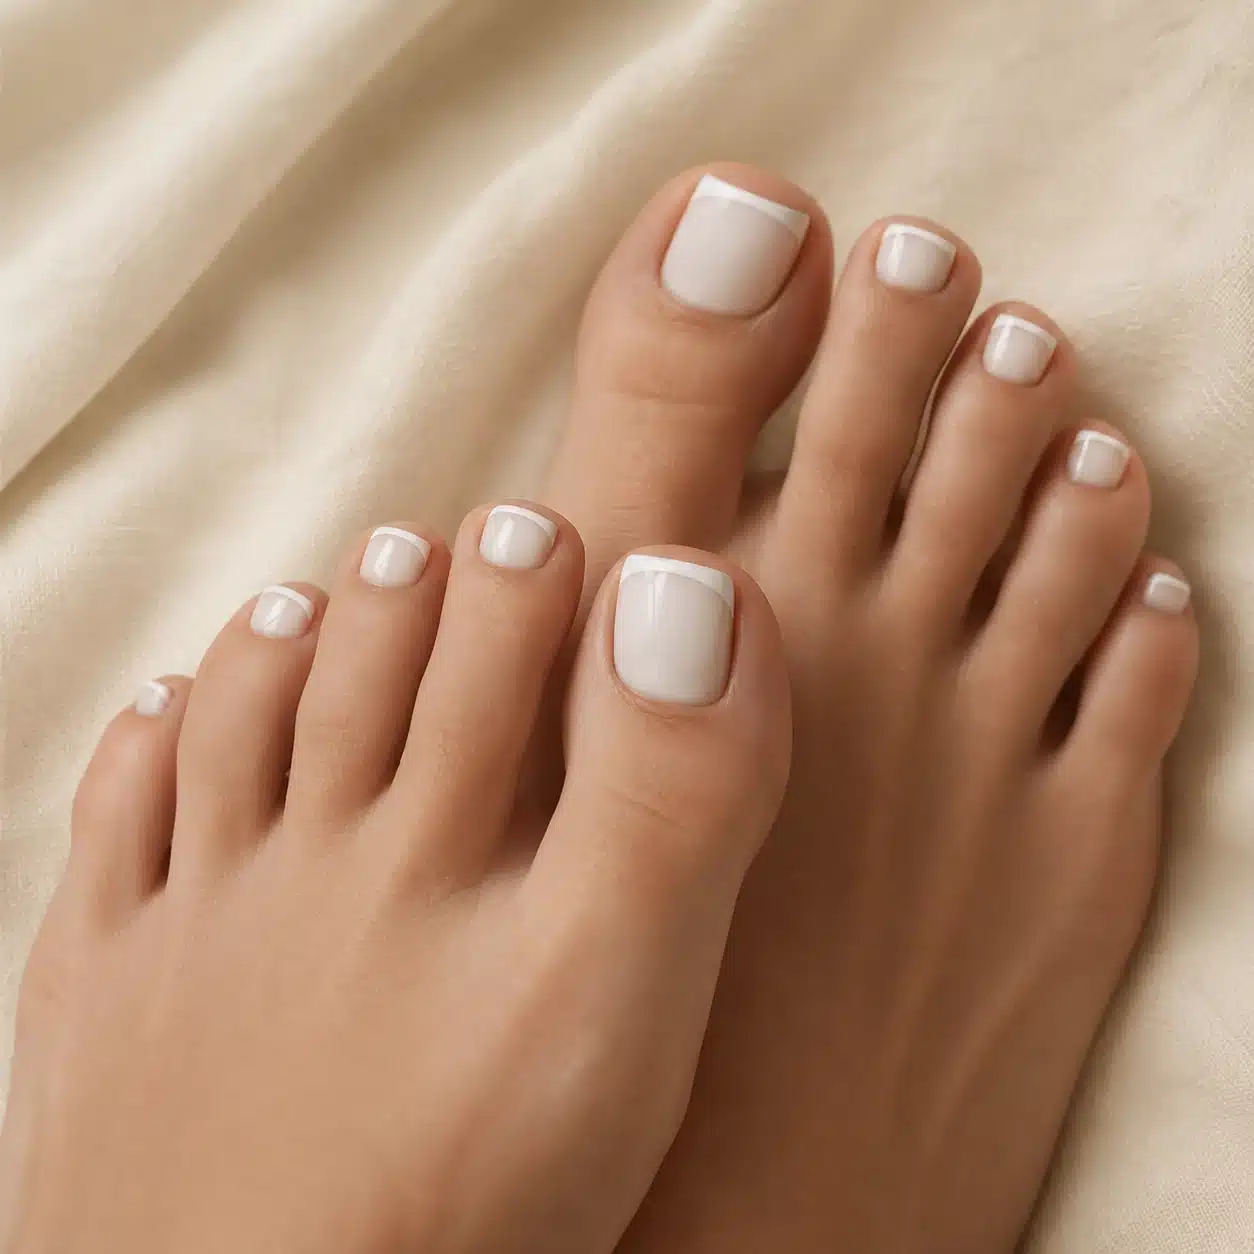
White shellac toes usually describe a salon gel-polish service with creamy white coverage and a cured shine. For a milky result, ask the technician to keep the color semi-sheer instead of building it to a completely opaque white.
- Prep: Arrive without heavy foot cream on the nail plate and ask for clean, even shaping.
- Salon request: Say, “I want a soft milky white shellac pedicure with medium coverage and a glossy finish—not stark white.”
- Layering: Request thin coats so the gel cures evenly and the white does not pool around the cuticle.
- Tone adjustment: If the first coat looks too cool, ask whether a compatible sheer nude or soft pink base can warm the finished color.
- Finish: Check the big toenails from the front and side before the final cure to catch uneven edges or bulky corners.
The gel-specific placement principles are similar to those used for gel French tip toes, although this look covers the whole nail instead of emphasizing only the edge.
4. Sheer One-Coat Milk Veil
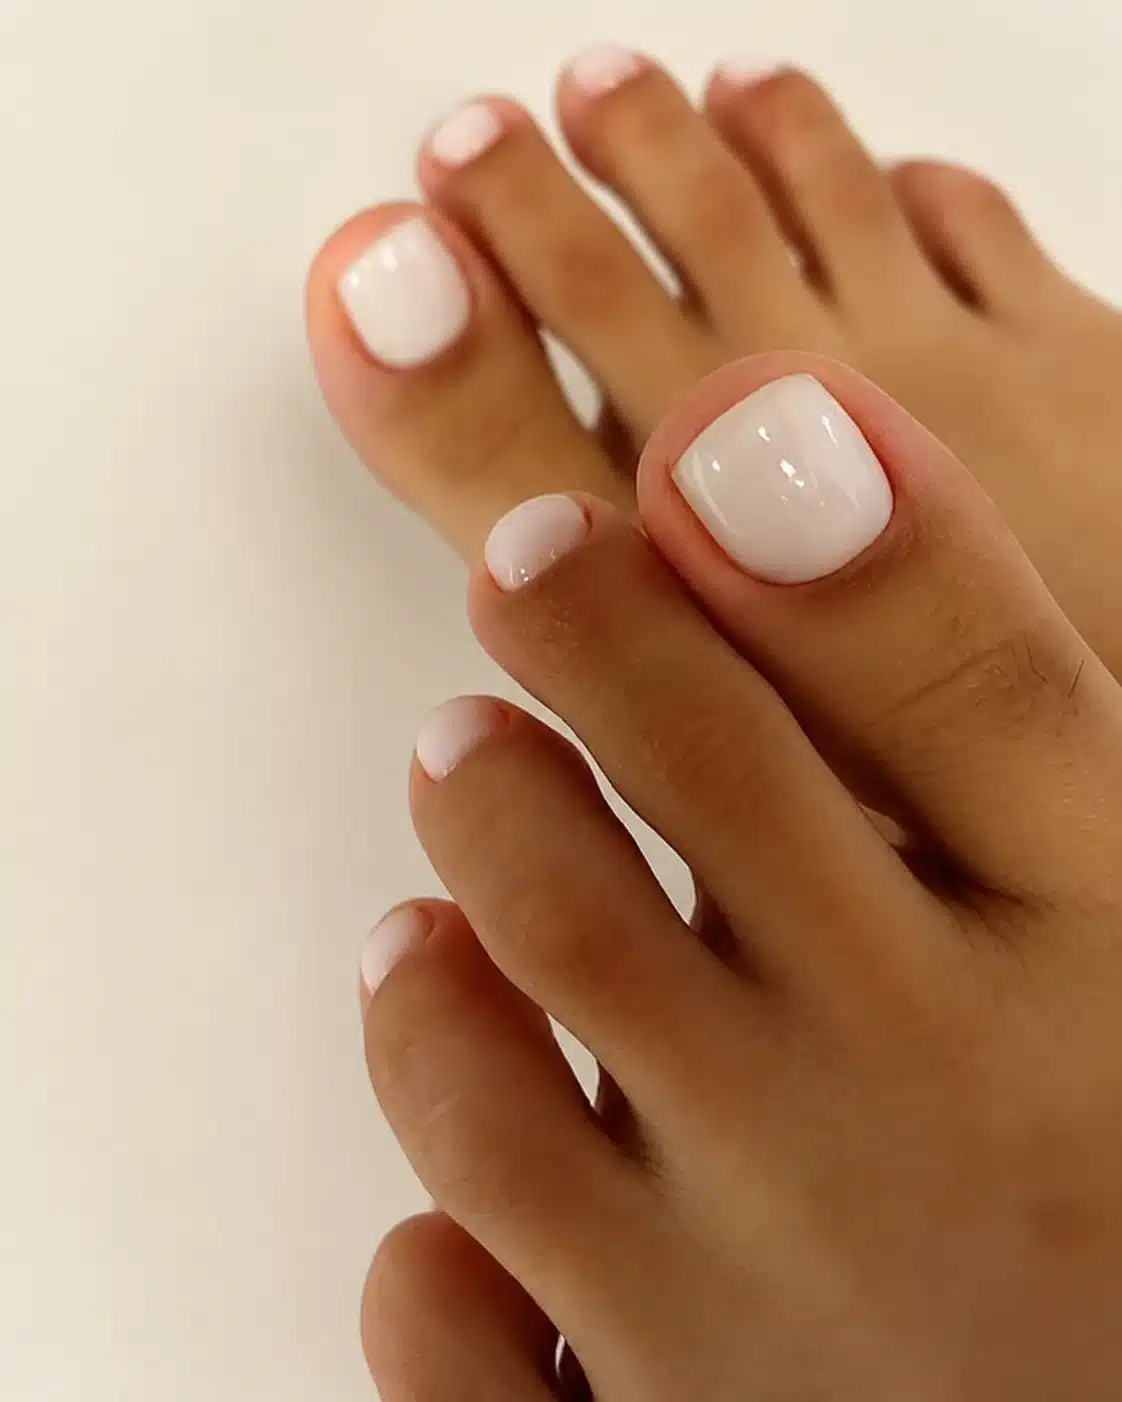
The one-coat version is the most natural option. It brightens the nail plate but allows the natural pink-beige tone and free edge to remain visible, making it useful when you want a barely-there pedicure.
- Prep: Smooth only obvious surface ridges; aggressive buffing is unnecessary and can thin the nail.
- Base: Keep the base coat extremely thin so it does not create a bulky foundation beneath the sheer color.
- Color: Load the brush lightly, place it just below the cuticle, and pull in three controlled strokes from base to tip.
- Streak control: Avoid repeatedly brushing gel that has started to settle. Level the coat with one final light pass and cure it.
- Finish: Choose a clear glossy top coat rather than a tinted one so the single milky layer remains delicate.
This softer coverage sits close to a pink-neutral base. If pure white feels too cool, French tip toes with a pink base shows how a warmer undertone changes the overall pedicure.
5. Short Natural Milky White Toes
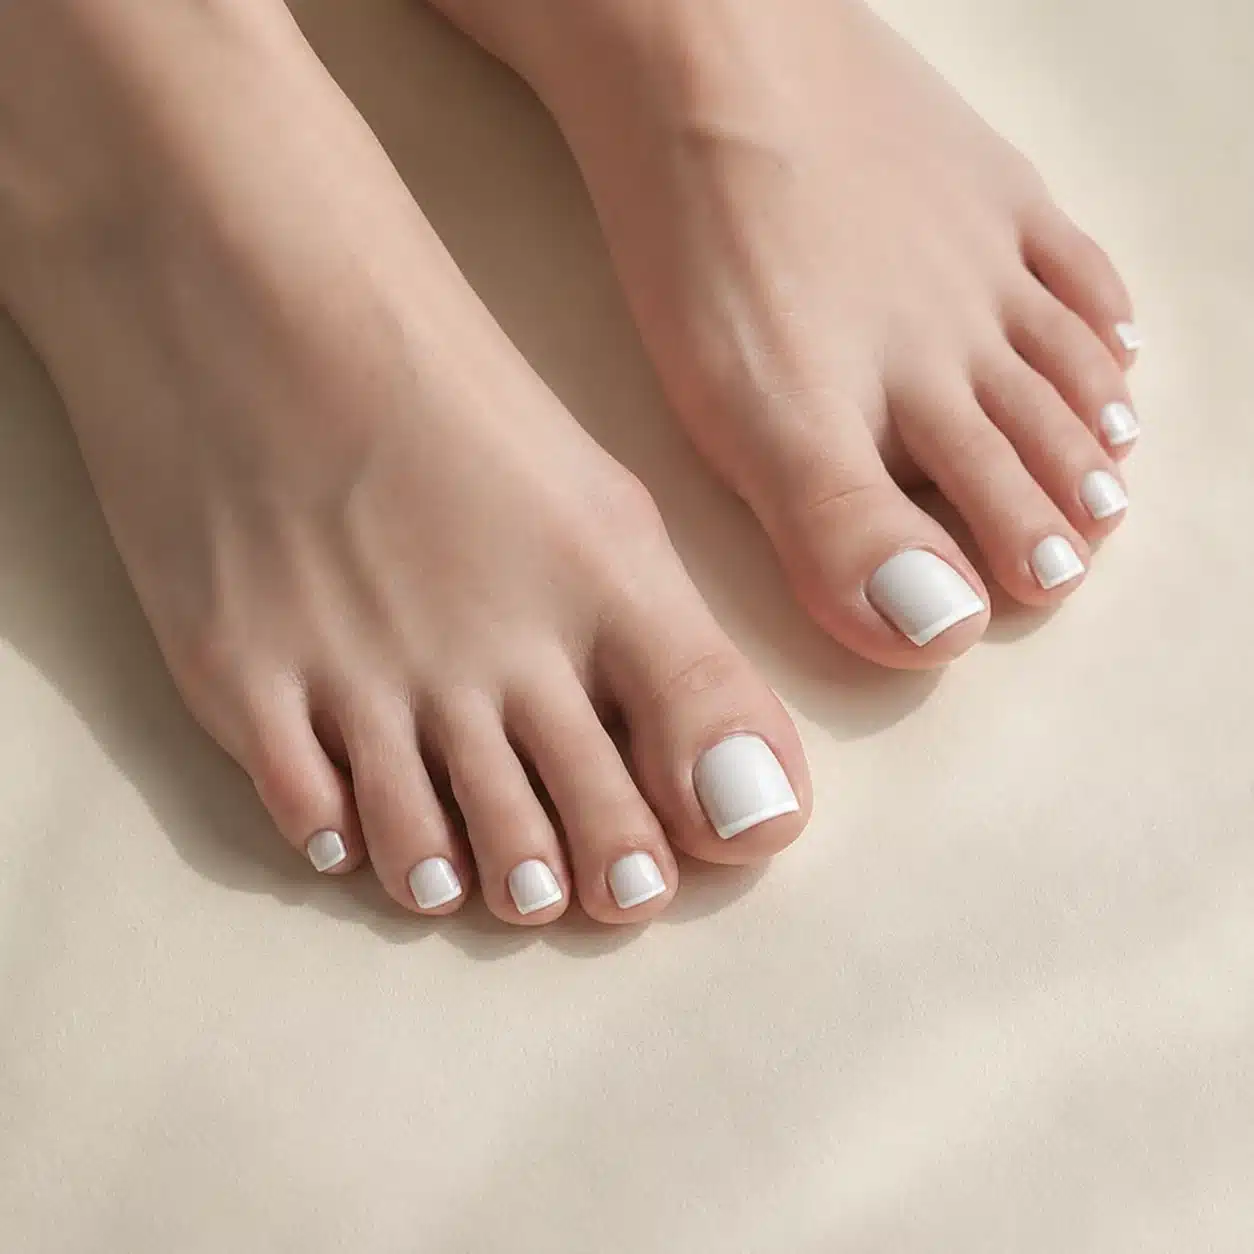
Milky gel is especially flattering on short toenails because the translucent color does not visually overwhelm the small nail plate. A softly squared shape keeps the edge practical and clean.
- Shape: Trim straight across and leave a small visible free edge rather than cutting deeply into the corners.
- Prep: Gently move back surface cuticle from the nail plate without forcefully cutting living skin.
- Color placement: Leave a hairline gap around the skin and apply two thin coats, concentrating the second coat only where the nail looks patchy.
- Detail: Use a fine cleanup brush before curing if color touches the sidewall.
- Finish: Seal with a flexible, compatible top coat and moisturize the surrounding skin only after the service is complete.
Browse the real French Tip Toes category when you want additional short-toe shapes and related pedicure finishes.
6. Bright White Gel Pedicure With a Milky Base
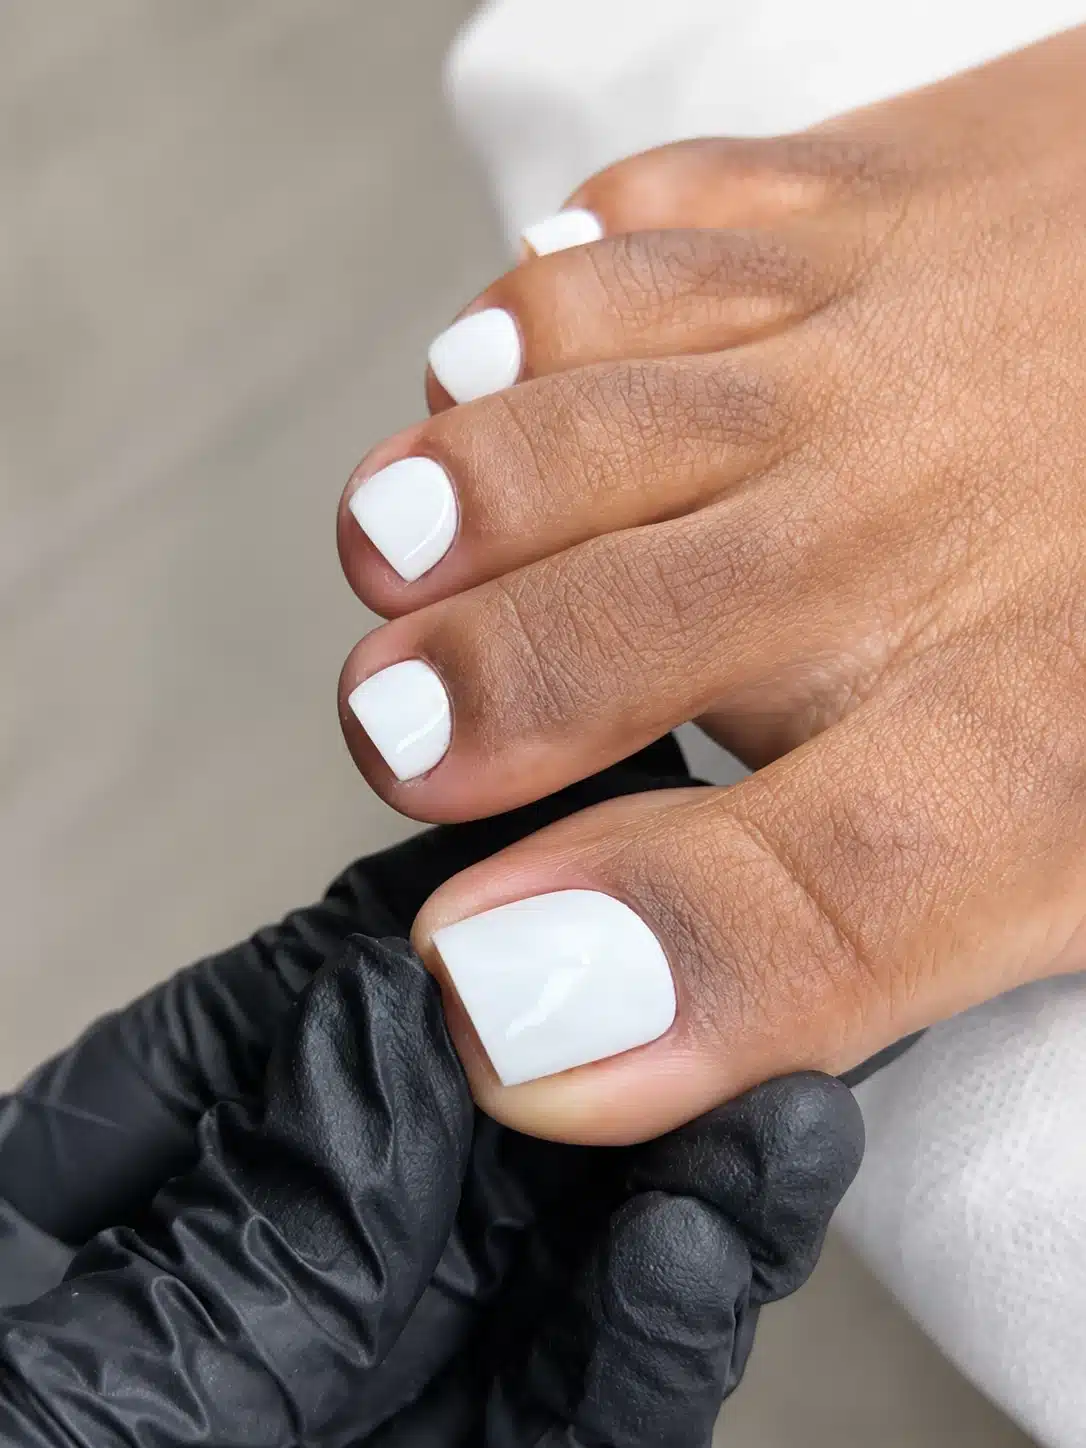
This version moves closer to classic white while retaining a softly diffused base. It suits readers who like the brightness of white toes but want fewer visible brush marks and a less chalky finish.
- Prep: Make the nail plate level because fuller white coverage makes ridges and uneven corners more visible.
- Foundation: Apply one thin milky white layer and cure it before assessing the opacity.
- Brightness: Add a second compatible white layer using less product near the cuticle and slightly more through the center.
- Balance: Stop before the nail loses all depth; the first milky layer should still soften the overall white.
- Finish: Apply a non-yellowing top coat from the same compatible system and follow its full cure time.
7. Opaque Milk-White Square Toes
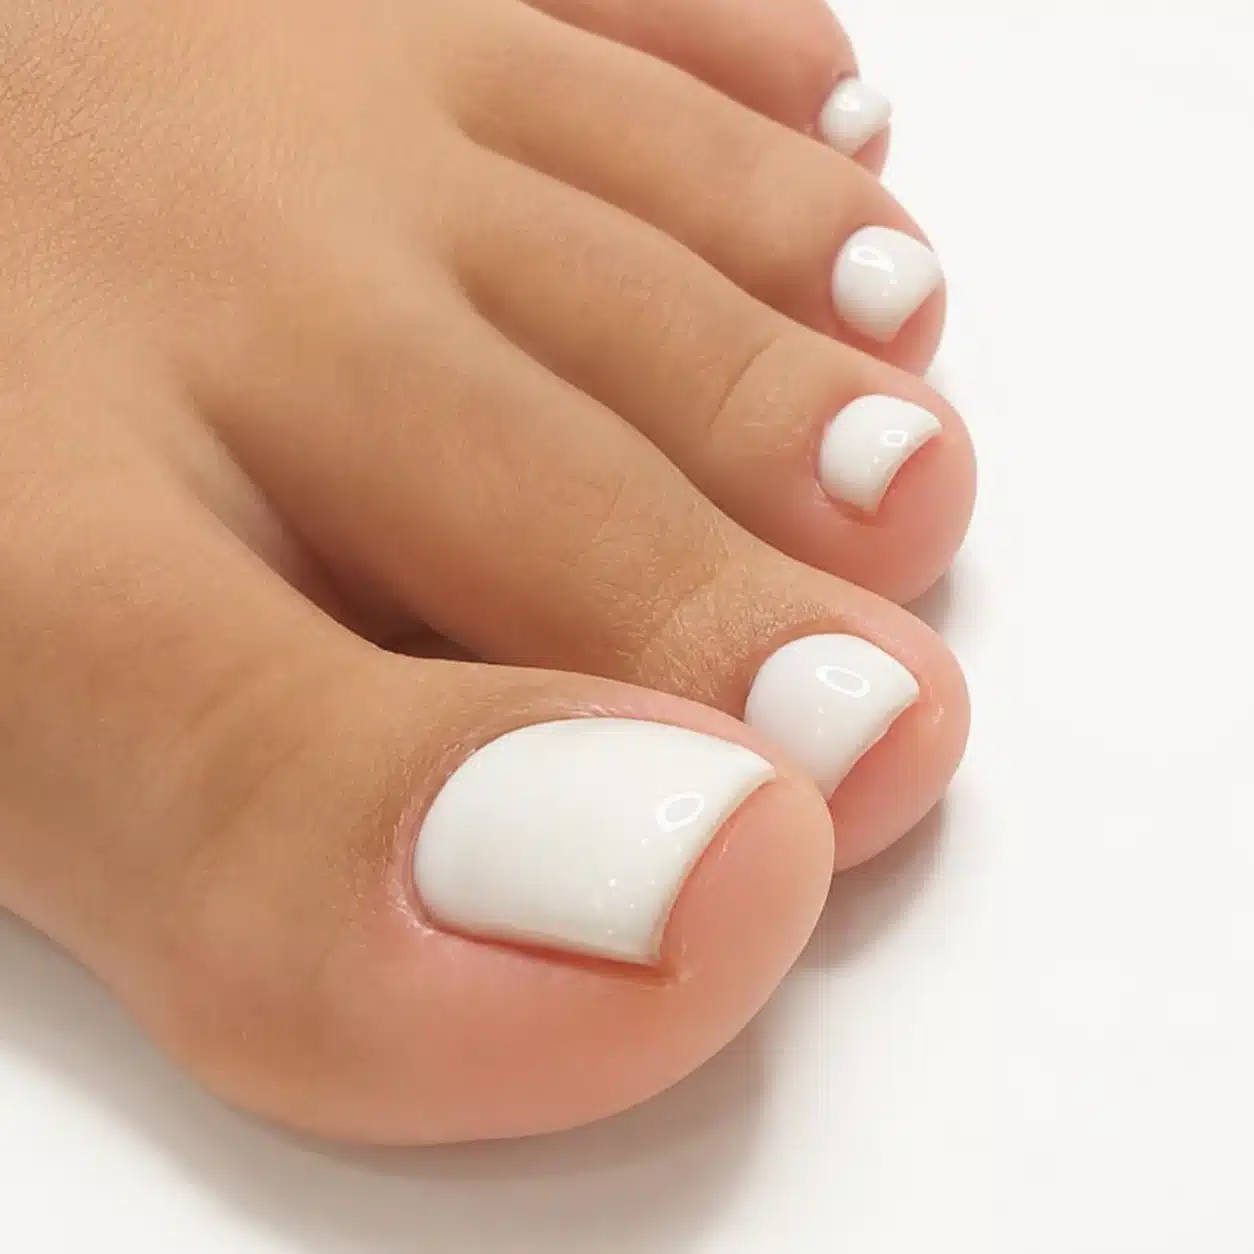
Opaque milk-white toes look bold and precise, but a cream-toned formula prevents the result from feeling as harsh as pure optic white. The square outline makes symmetry especially important.
- Shape: Match the corners and free-edge length across all toes before applying any product.
- Base: Keep the base coat smooth and thin; ridges underneath opaque white can remain visible after curing.
- Color: Build coverage with several thin layers only if the brand permits it, curing every layer according to its label.
- Sidewalls: Remove excess gel before curing so the square silhouette stays narrow rather than flared.
- Finish: Inspect the surface under side lighting, then apply a leveling glossy top coat without flooding the cuticle.
Beetles Whispers of Love Jelly Gel Polish Set
A verified six-color sheer neutral set that includes milky white and nude-pink tones for adjusting a translucent finish.
8. High-Shine White Gel Toes
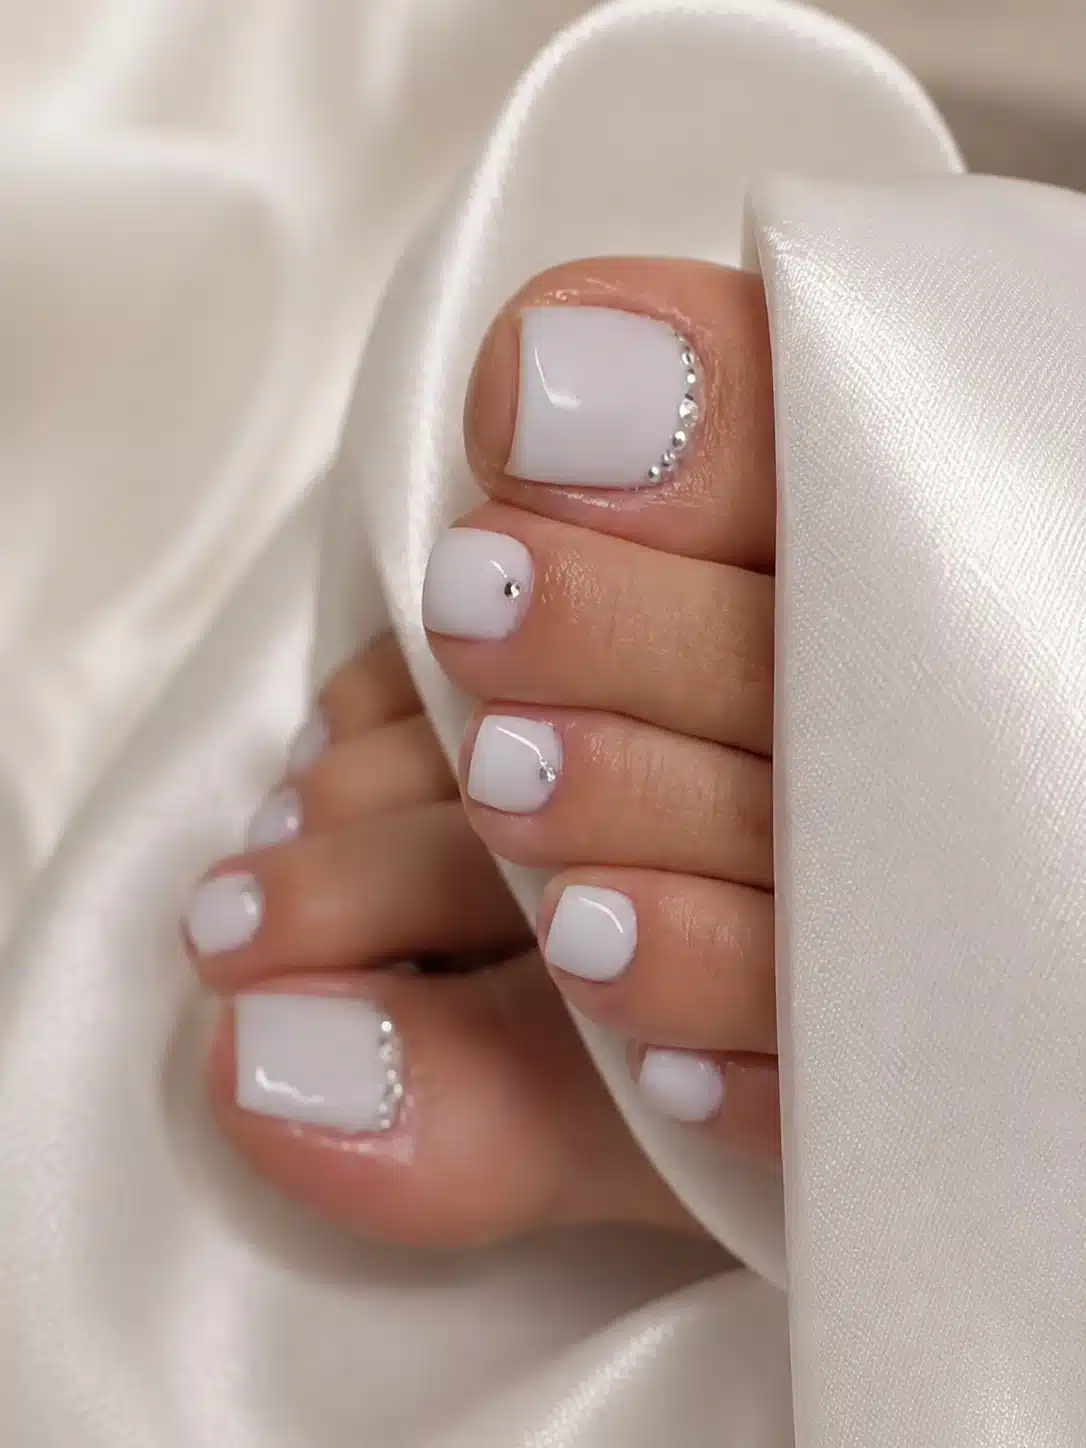
Here, the glassy top coat is the focal point. The white base can stay simple because a smooth reflection makes the pedicure appear fresher and more dimensional.
- Prep: Remove all filing dust and check that no lint remains around the cuticle line.
- Color: Apply two controlled coats of milky white gel and cure them without touching the surface afterward.
- Top coat: Float the top coat lightly over the color instead of pressing the brush hard enough to create grooves.
- Edge: Seal the big-toe free edge with a very small amount of product to avoid a thick lip.
- Aftercare: Keep the surrounding skin moisturized, but do not use oil on the nail plate before application because it can interfere with adhesion.
Beetles No-Wipe Gel Top Coat and Base Coat Set
A matching base-and-top pair for the preparation and high-shine finishing steps; verify compatibility with your chosen color and lamp before use.
9. Soft Grey-Milk Gel Pedicure
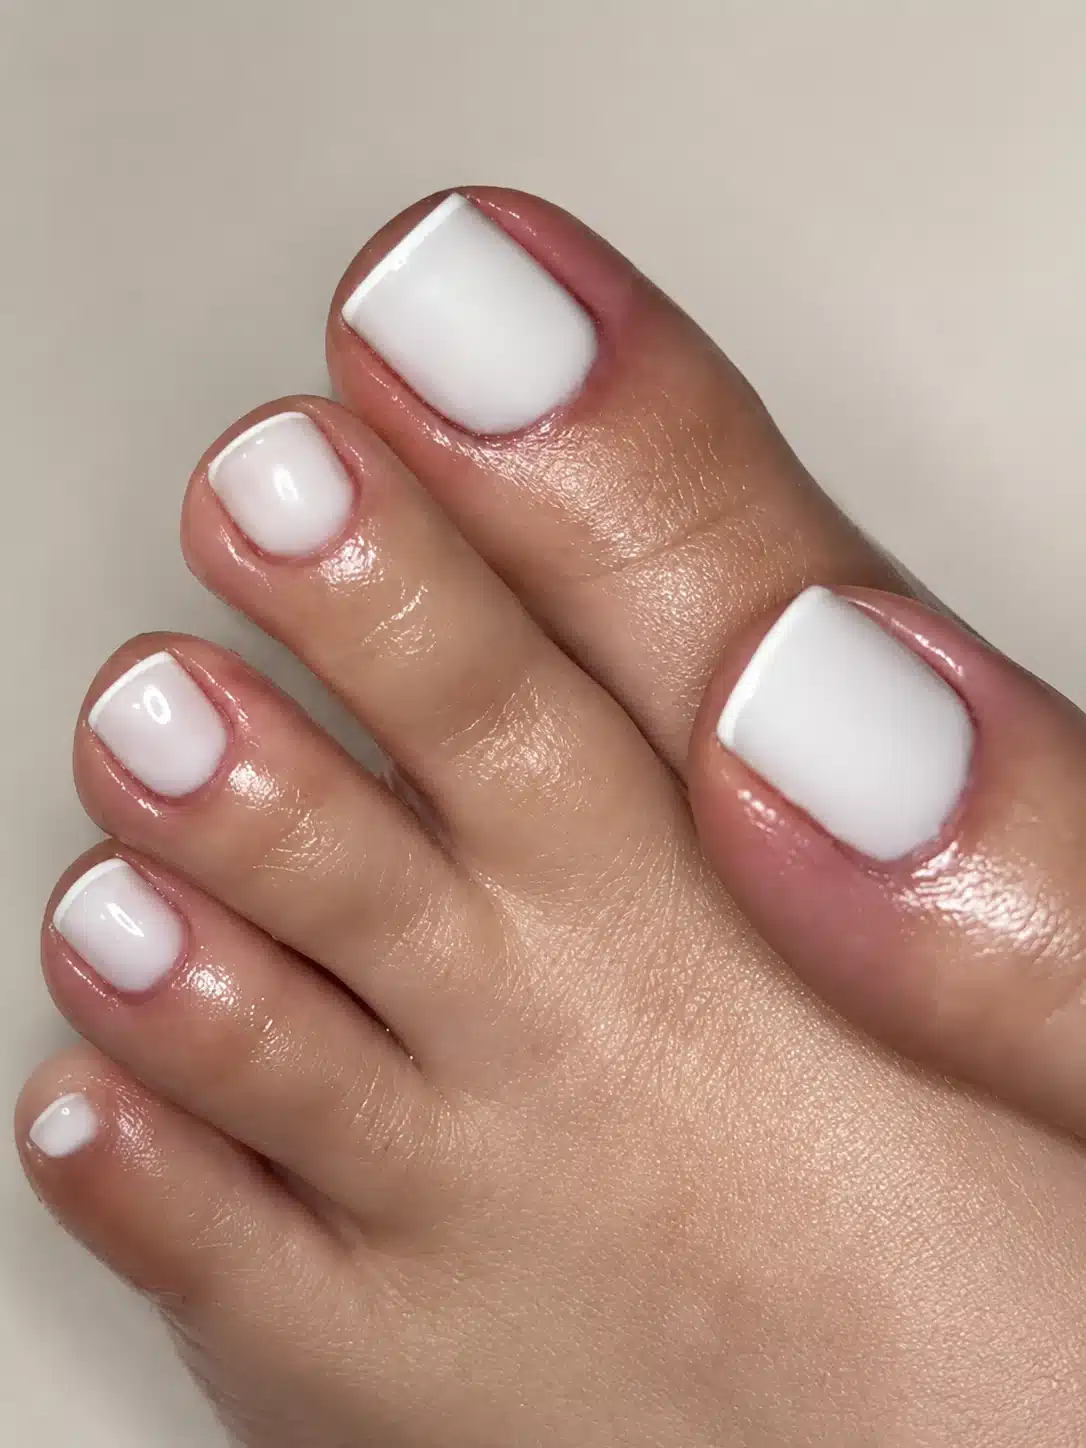
A drop of grey or cool nude changes white into a muted milk shade. This cooler neutral can feel calmer and more modern than bright white while still reading as a clean pedicure.
- Choose the shade: Use a premixed, manufacturer-labeled grey-white or cool milky gel rather than casually combining incompatible formulas.
- Prep: Keep the toenails short and softly squared so the muted tone looks intentional.
- Color: Apply the first coat thinly; evaluate it only after curing because cool pigments can shift under the lamp.
- Coverage: Add a second layer where needed, keeping the cuticle area translucent and tidy.
- Finish: Use clear gloss for a wet-look result or the system's compatible satin finish for a softer effect.
A controlled color accent can also preserve a milky base. See French tip toes with color for ways to place color only where it defines the design.
10. Micro French Tips Over Milky Gel
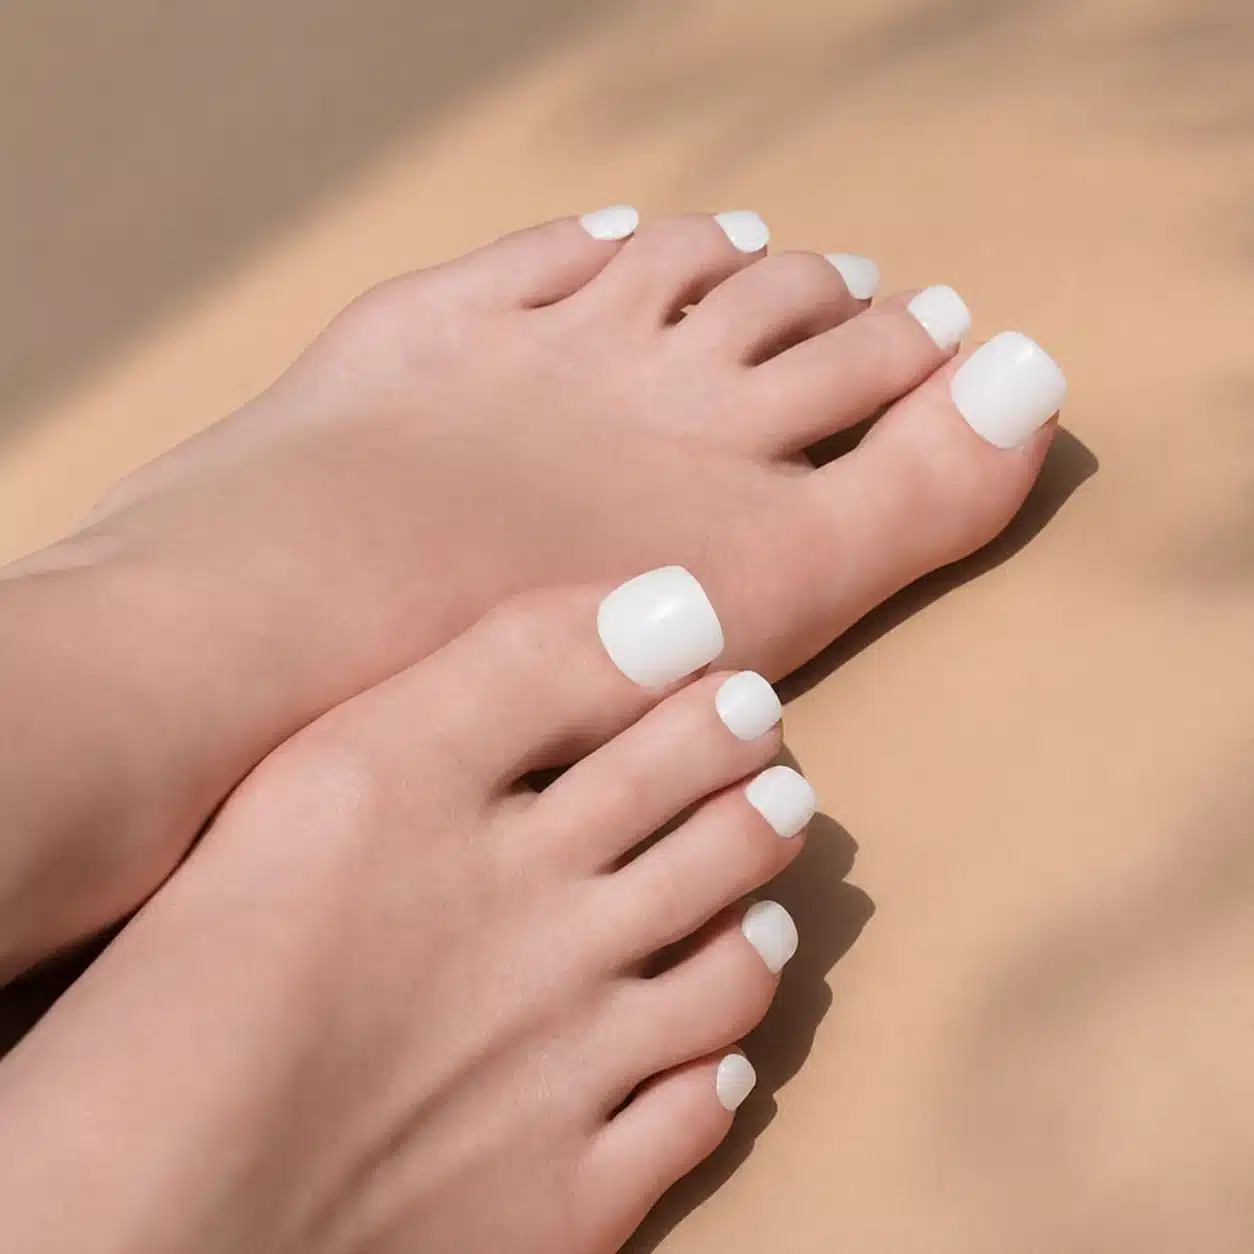
Micro French tips combine a translucent milky base with a very fine white line. The contrast is subtle, making this a good option when a full traditional French pedicure feels too graphic.
- Prep: File a straight or softly rounded edge that gives the tip line a clear path.
- Base: Apply one or two thin milky gel coats and cure each layer fully.
- Tip: Use a detail brush and compatible white gel to draw a slim line across the free edge, keeping the thickness consistent.
- Correction: Refine the smile line with a clean brush before curing rather than layering more white over an uneven edge.
- Finish: Seal the entire nail with clear top coat so the fine tip feels smooth and protected.
For a more detailed technique breakdown, follow the existing guide on how to do French tips on toes before attempting the line work.
How to Ask for a Milky White Gel Pedicure at the Salon
Bring a reference image and describe both color and opacity. A clear request is: “I would like a semi-sheer milky white gel pedicure, two thin coats, softly squared toes, and a glossy top coat. I want creamy white, not stark opaque white.” If you want tips, add “with a very thin white micro French edge.”
Also ask which gel system and lamp the salon uses, how it is removed, and how tools and foot baths are disinfected. Avoid asking the technician to cut deeply into the nail corners or aggressively remove living cuticle. If you notice discoloration, thickening, pain, swelling, lifting, or broken skin, pause the cosmetic service and seek appropriate professional advice.
Frequently Asked Questions
What should I ask for if I want milky white nails?
Ask for a semi-sheer milky white gel pedicure with thin, even coats and a glossy top coat. Specify whether you want a translucent veil, creamy medium coverage, or a nearly opaque finish, because “milky white” can describe several opacity levels.
Why are white pedicures so popular?
White pedicures are popular because the neutral color looks clean, creates visible contrast on many skin tones, and pairs easily with shoes and outfits. A milky finish softens the brightness of opaque white, which makes the color easier to wear.
What is the trend in milky nails?
Milky nails use translucent white, pink, or nude layers to create a diffused glossy finish. Common variations include creamy white, micro French, pearl, chrome, and softly tinted milk shades.
Is milky white nail polish trendy?
Yes. Milky white remains a widely featured neutral because its opacity can be adjusted for minimalist, bridal, vacation, and everyday pedicures. The adaptable finish matters more than attaching it to one short season.
How do you avoid streaks in milky white gel polish?
Start with a smooth nail surface, use very thin coats, keep brush pressure light, and cure each layer according to the product instructions. Do not repeatedly drag the brush through gel that has already started to level.
The Soft White Pedicure to Save
A milky white gel pedicure works because it can be tailored: one coat for a natural veil, two for creamy coverage, or a micro French edge for extra definition. The most polished result comes from careful preparation, thin compatible layers, complete curing, and removal that protects the natural toenail.